I have been on a mission to finish up some of my knitting UFO’s (Un-Finished Objects), partly because I was tired of them languishing for so long, and partly because I may need them for examples for an upcoming sweater design class at the end of February.
Berry Cluster Cardigan
This one was started in September 2010! It was based on Karen Alfke’s Unpattern for Raglan Cardigans from the Top Down, which I have used in several classes with her permission. For this one, I used a different raglan increase with a lace effect: YO, K1, slip marker, K1, YO on each side of the markers that divide the fronts, sleeves, and back. I was planning to do some kind of lace edging, so I wanted the raglan increases to be lacy.
The yarn is Queensland Collection “Merino Spray”, 100% extra fine merino wool, in color #5. I used 8 balls at 135 yds (123 m) per ball. Needle size 4 mm (US 6) for the main sweater with a gauge of 22 sts to 4 inches/10 cm. Needle size 3.75 mm (US 5) for the lace edgings. The dye lots were all the same according to the ball bands, but there is some striping, so I think it wasn’t as consistent as one would wish!
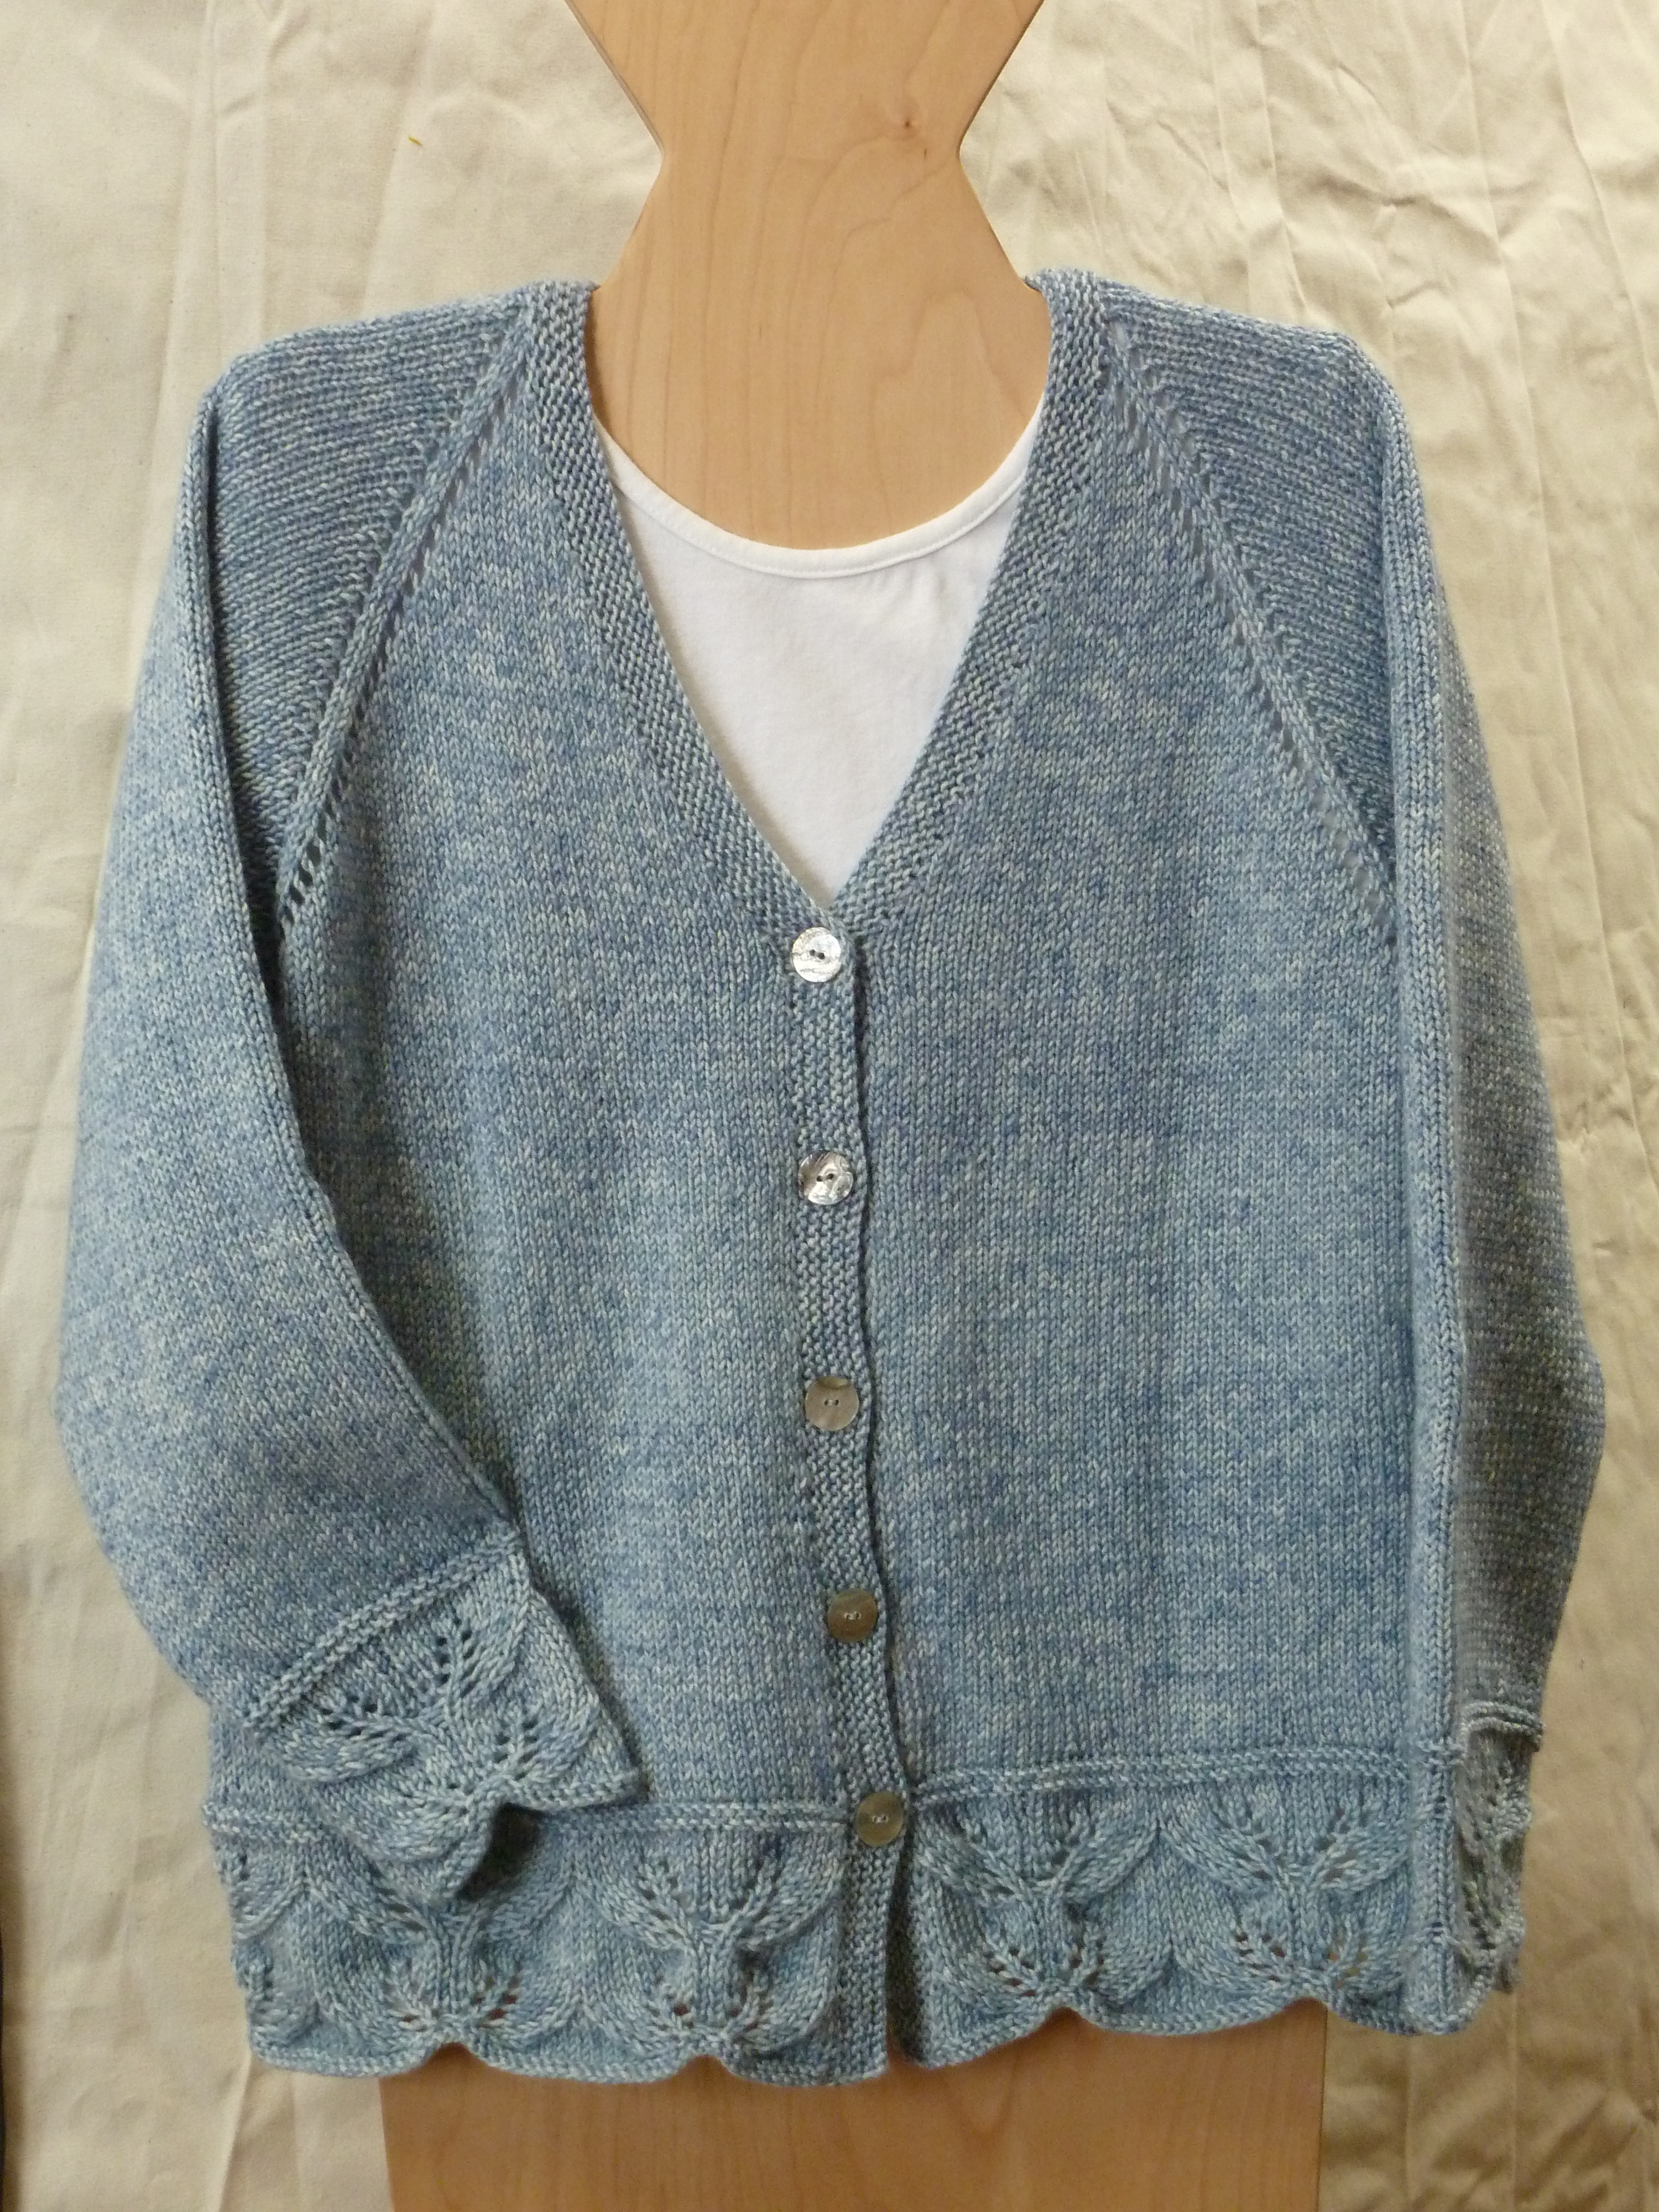

I searched my knitting library for lace edgings, and most are intended to be knit from the bottom up. The sweater is knit from the top down, so it would be “more convenient” to just continue with the edging from the top down. But I really liked this pattern and it was just too much trouble (indeed perhaps not possible) to convert it to a top-down approach. It is “Berry Cluster II” from Nicky Epstein’s book Knitting on the Edge.
So, after swatching, I knit the edgings separately and then attached them to the live stitches at the bottom of the sweater and ends of the sleeves, using a “Japanese Three Needle Bind Off”. With the Japanese 3 Needle Bind Off, you pull the stitches off one needle through the stitches of the other needle, all the way across, and then you bind off as a second step. It seemed to make a less bulky and more invisible join than the regular 3-needle Bind Off. There are tutorials out there on the web.
The sweater was finished with a simple garter stitch band, which I thought went well with the garter stitch portions of the lace edging. There are buttonholes for the 5 buttons, but I think I will leave it buttoned and just pull it on and off over my head. Also, the Berry Cluster II lace pattern calls for sewing on clusters of 3 beads at the base of each lace motif. I had actually purchased some small graphite colored round beads, and started sewing them on, but it was just too fiddly and made the sweater look dressier than I really wanted, so I abandoned that idea.
Pinecone Pullover
This one was started in September 2011. It was based on Karen Alfke’s Unpattern for Set-In Sleeve Cardigans from the Top Down. I used this Unpattern as the basis for another class last year, and I have to be honest and say I do not like her solution for the knit-in sleeve cap. It has way too many stitches in it and does not fit nicely into the armhole in the manner of a sewn-in sleeve cap. However, I am a big fan of one-piece construction and therefore spent many hours working out another method of planning and knitting the sleeve cap for my class. One of the sleeve caps on this sweater was probably ripped out and re-knit at least 3 times! I think my method works well, but it proved to be hard to teach – just a little too much math for some folks.
The yarn is Naturally Yarns “Me”, merino & cashmere 8-ply from New Zealand (80% merino, 20% cashmere), shade 812. I used 12 balls at 111 yds (102 m) per ball. Needle size 4 mm (US 6) for a gauge of 21 sts to 4 inches/10 cm. Bad news: this yarn is discontinued due to the cost of cashmere. Good news: I have more of it in other colors!
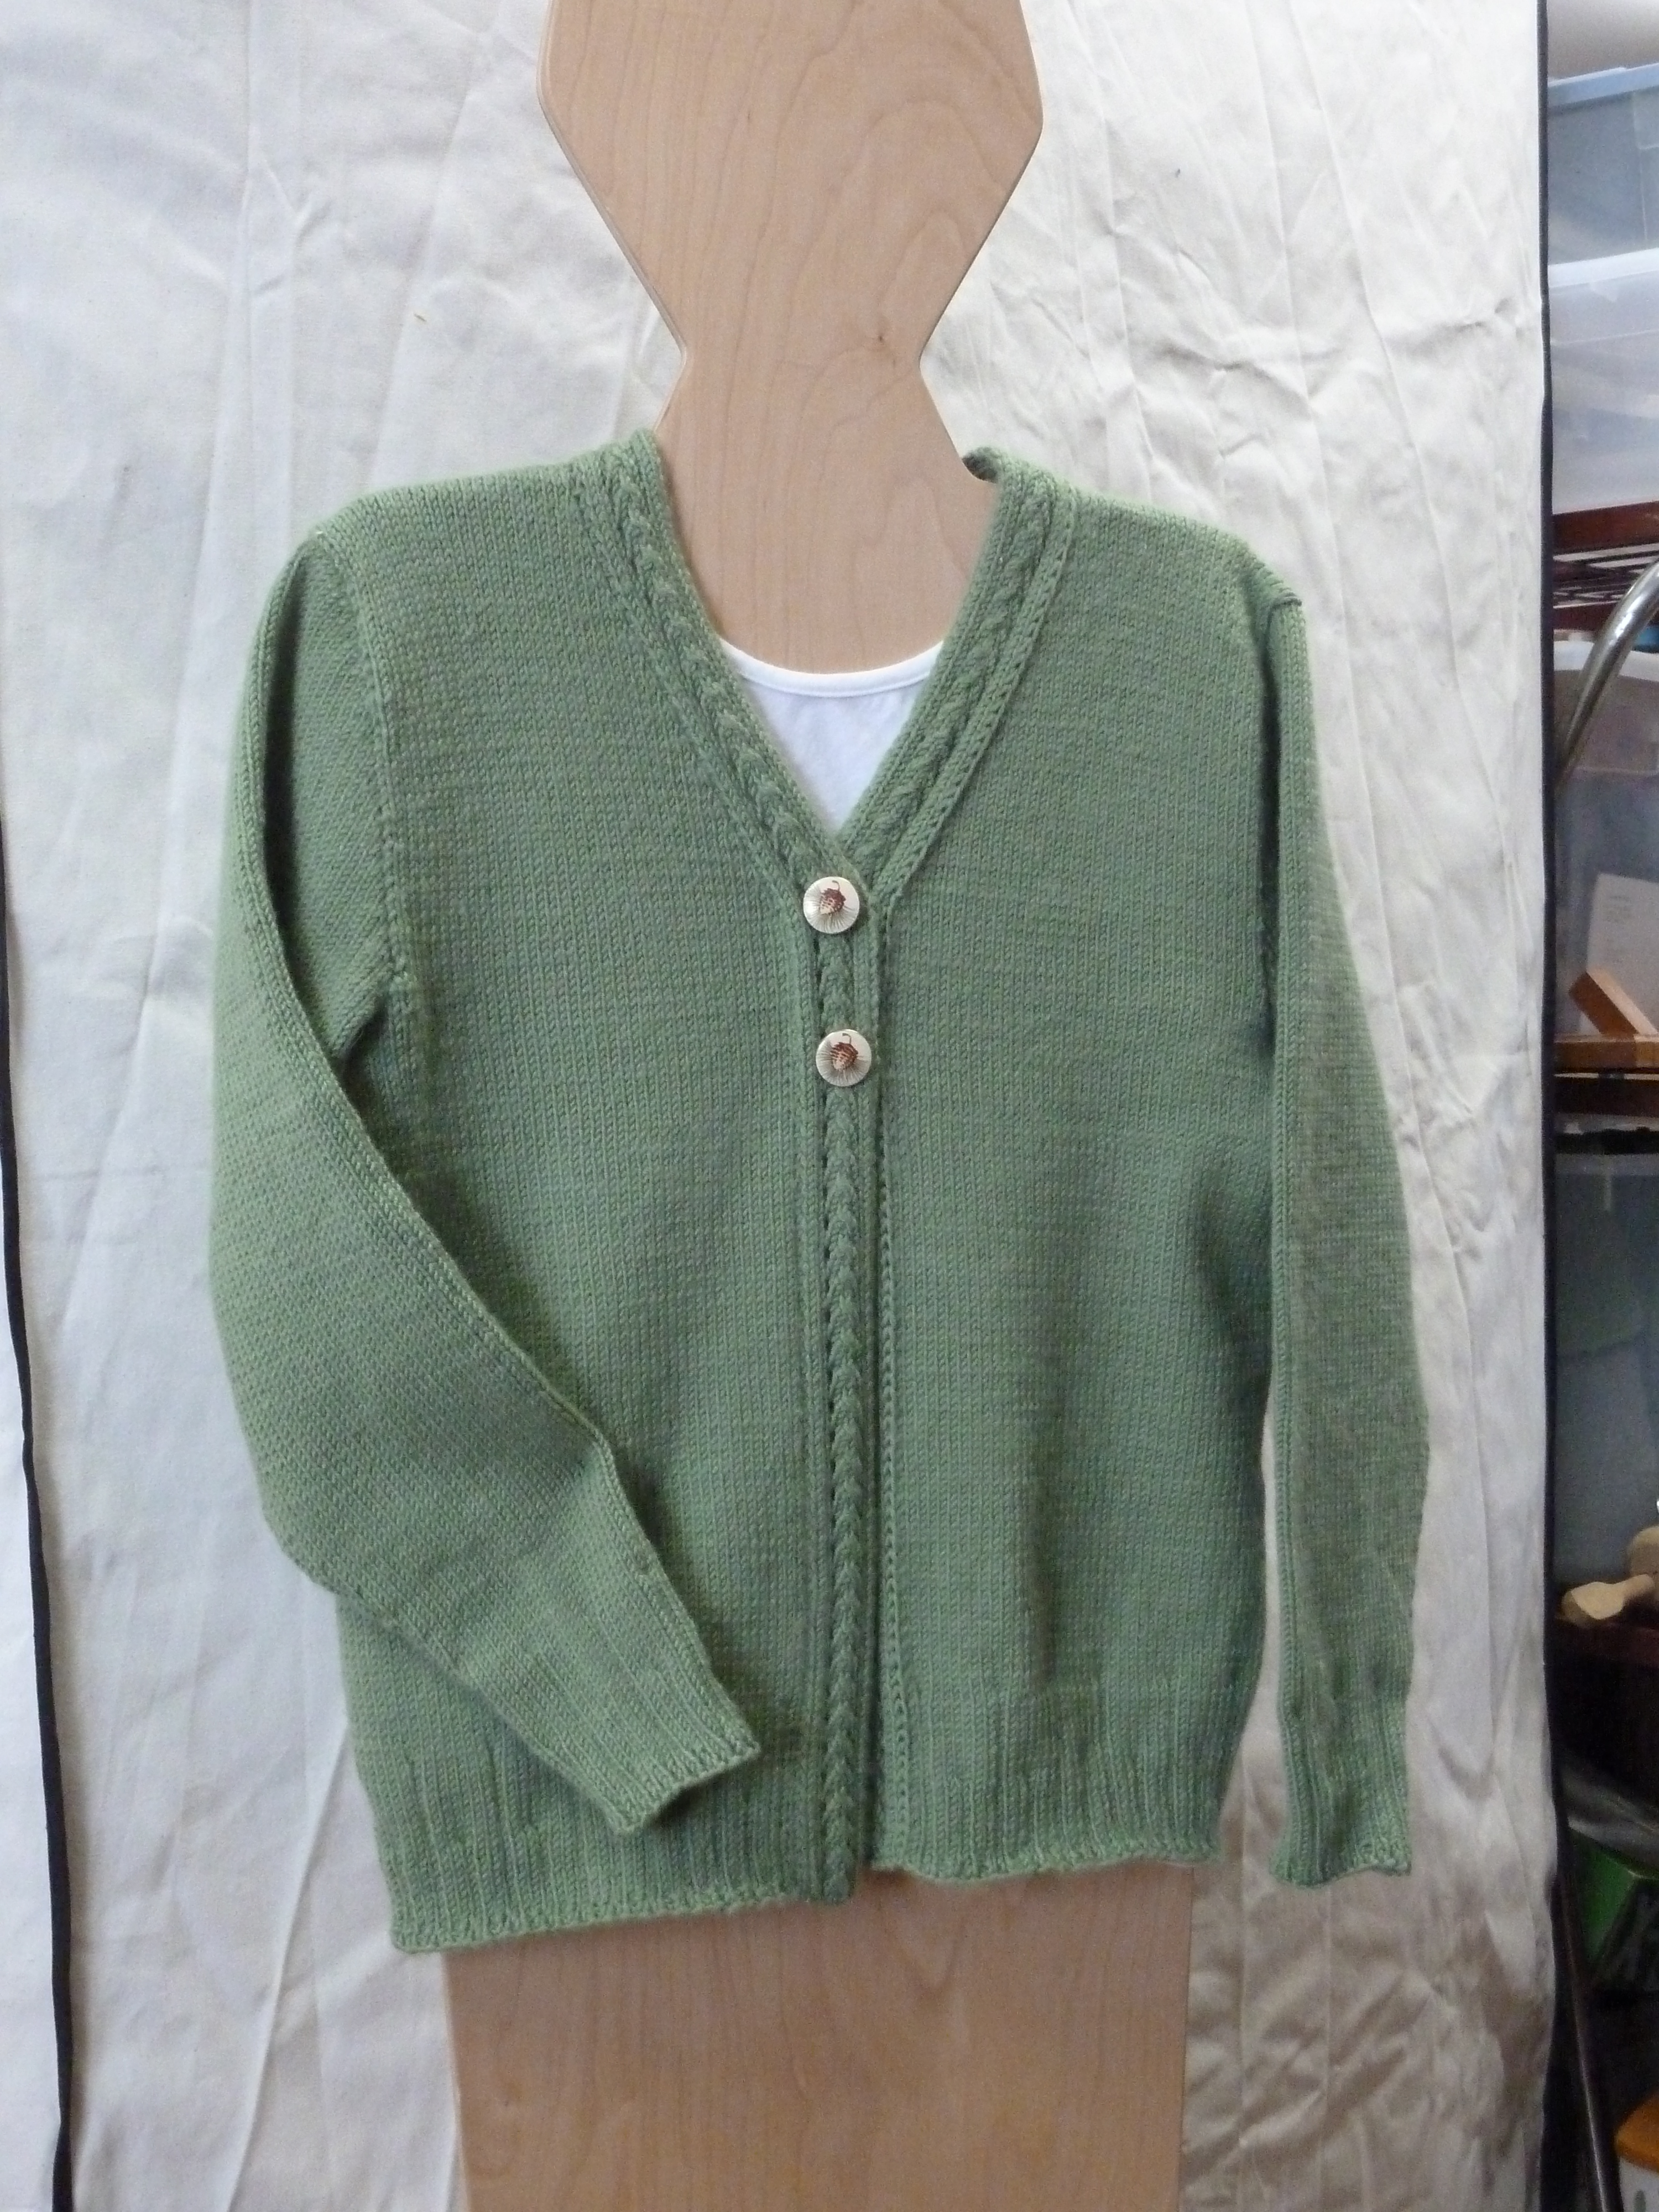

The sweater features some of the “extras” included in the Unpattern, namely side shaping, and “purl darts” at the bottom of the sweater and sleeves for a nice non-rolling finish to stockinette stitch.
To make the sweater more interesting, I used a lace and cable pattern, from the book Classic Knitted Cotton Edgings by Furze Hewitt and Billie Daley, for the front bands. They were knit and attached to the sweater edge as I went, starting from the bottom of each front, then grafted where the two bands met in the back of the neck. This method is shown best (IMHO) in The Principles of Knitting by June Hemmons Hiatt, although I have worked out some refinements, which I needed to do for this project and then to teach the method to others.
The two ceramic pine cone buttons were purchased long ago at an antique mall and I have been saving them for just the right project. Aren’t they wonderful? I do have a “thing” about pine cones. I sewed the 2 fronts together between the button locations, as I intend to pull it on over my head. Then simply sewed the buttons on top of the band for decoration.
Beaded Cuffs
These are probably the oldest UFO’s – started them more than 10 years ago. I was making them for my younger niece, who was thinking of being a veterinarian at the time. Now she is almost 29 and about to get her Ph.D. in biochemistry from Texas A&M. We are flying down for the dissertation defense and her birthday in April.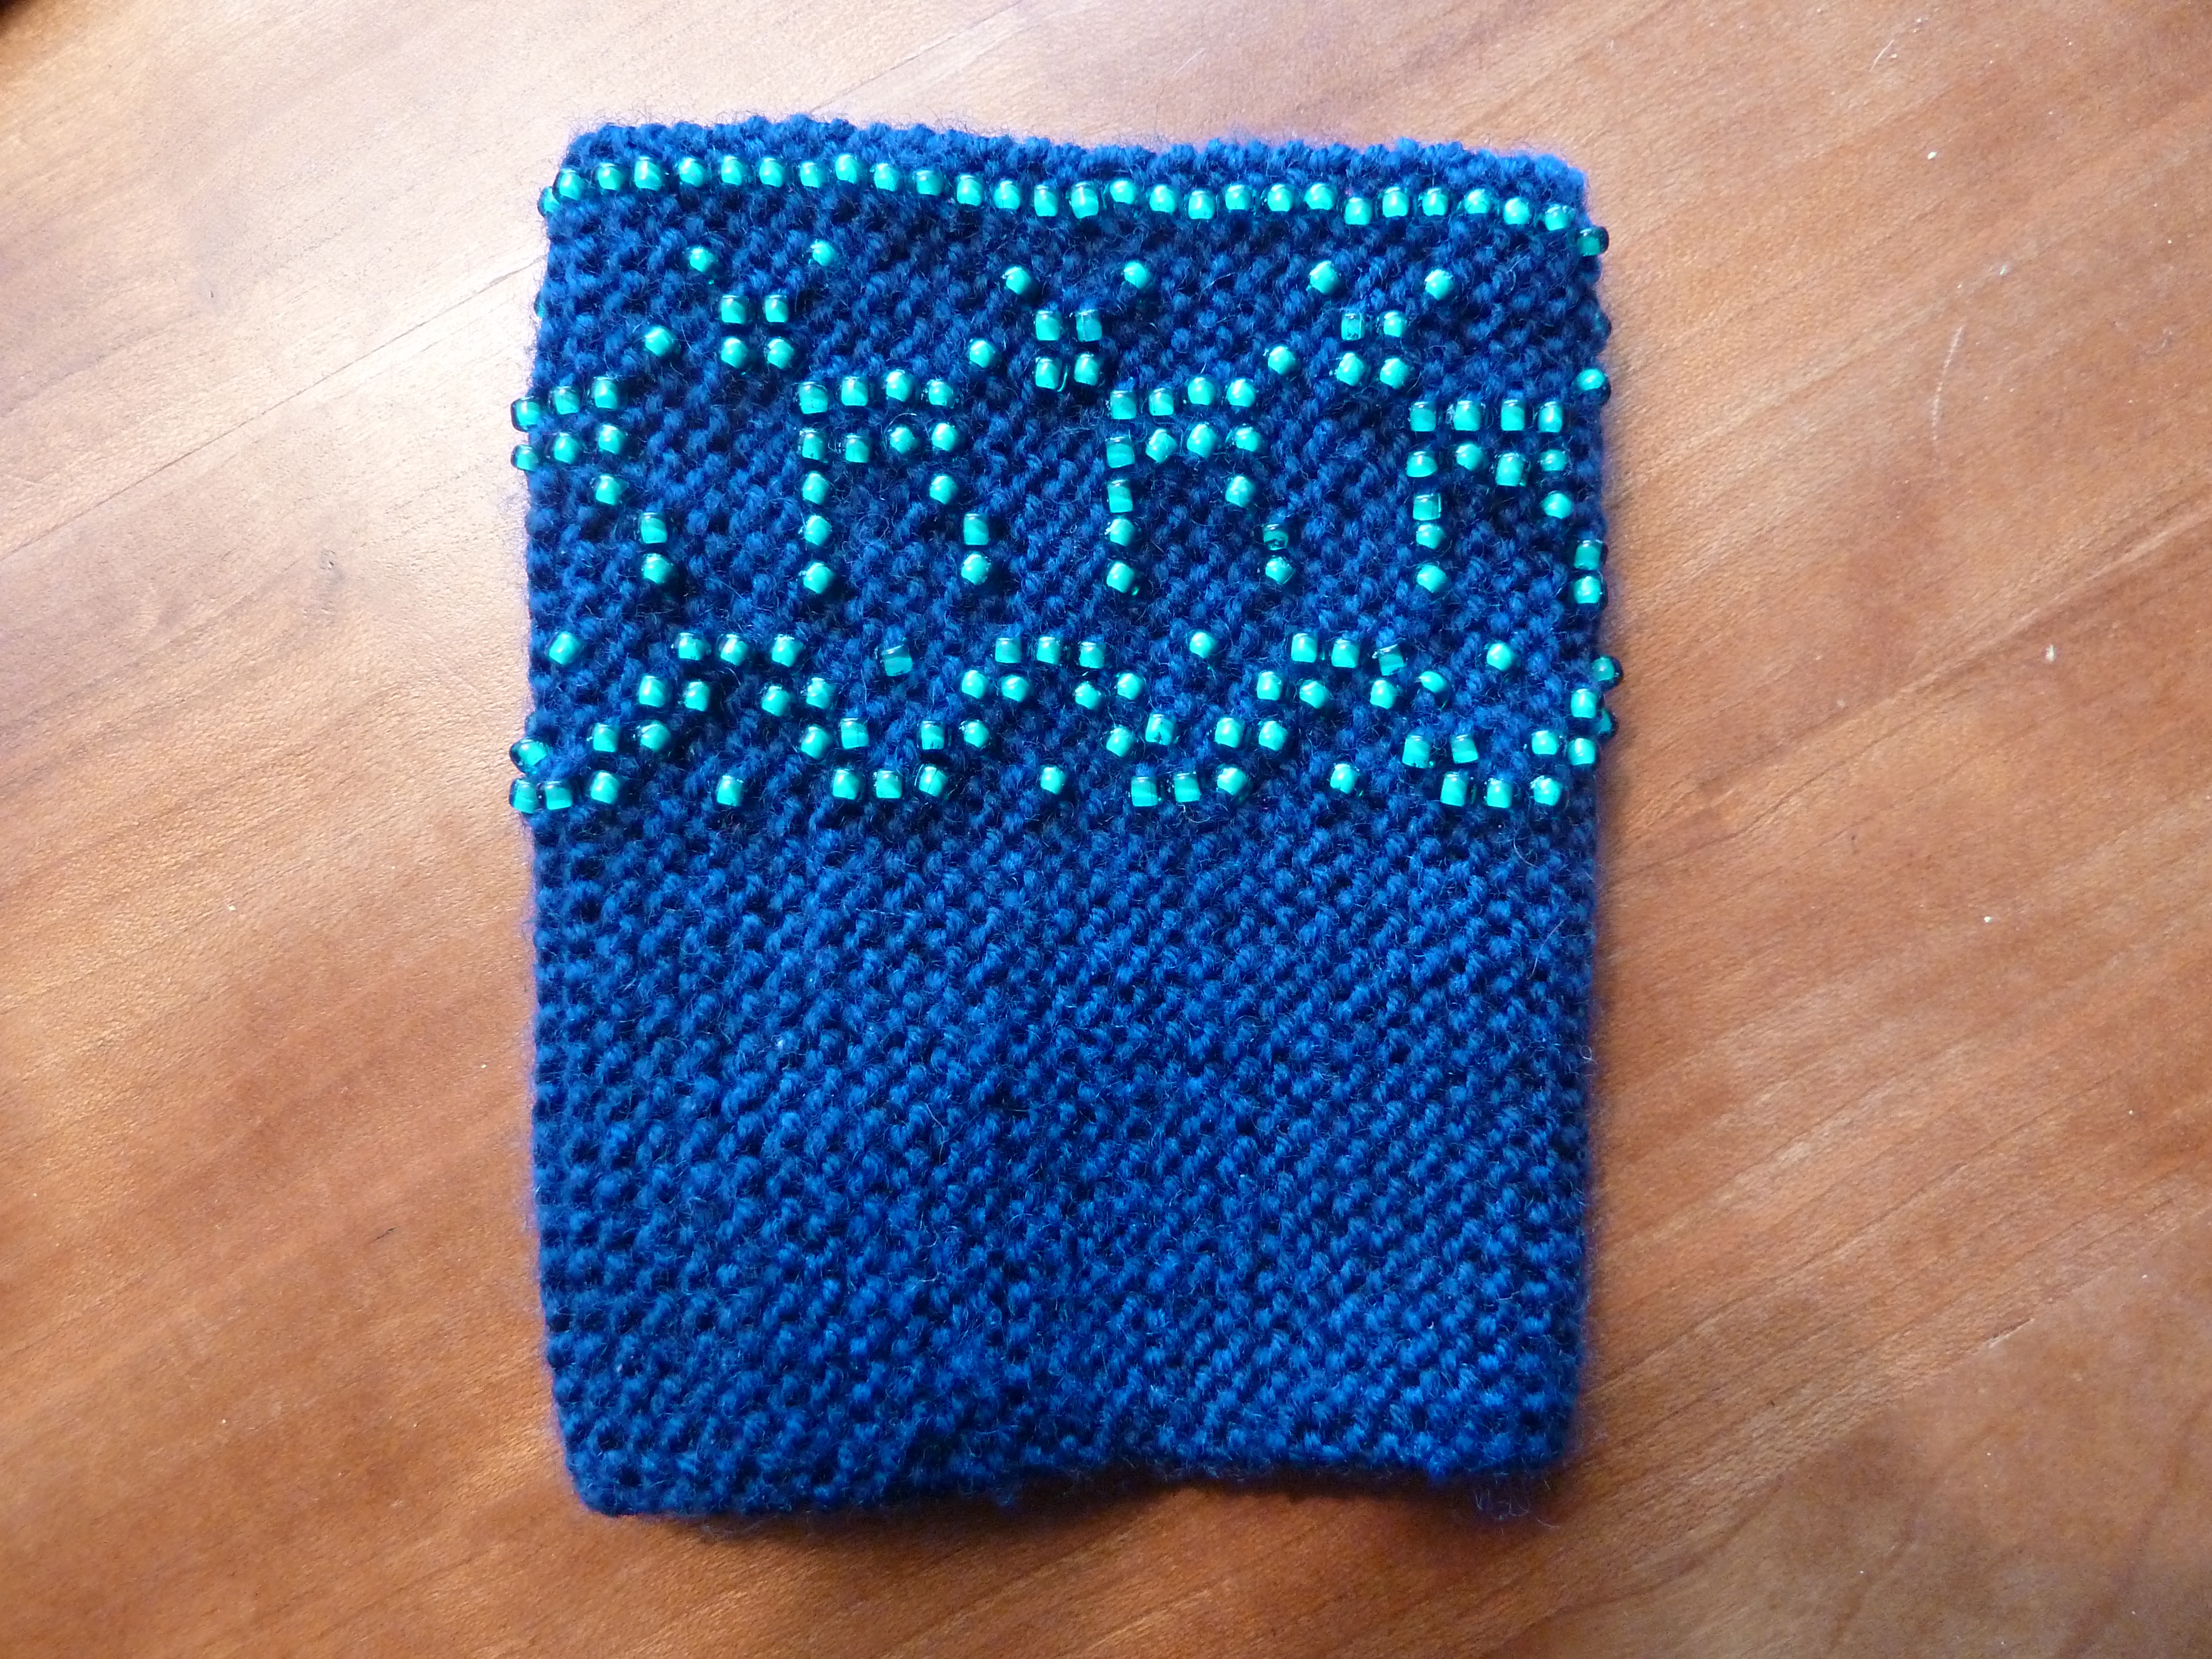
I wanted to finish them so I could remember how to do it before teaching a class on beaded cuffs last weekend. I had 8 intrepid souls and they all seemed to be getting it, maybe even enjoying it! The method and some basic patterns are from my friend Susanna Hansson: Off the Cuff: Basic beaded wrist warmers.


Leave a comment