We just went through a big fire event and I thought I would post a few pictures. It was a fire up the Twisp River Road that started last Wednesday (August 19) and just blew up in a matter of hours. Both Twisp and Winthrop were put on level 3 evacuation (which means “get out now”).

From our house about 3 pm Wednesday afternoon, looking south towards Twisp
Some folks have asked how we knew about the evacuation level. After some neighbors came around and told us we should start preparing to leave, we started to listen to our local radio station KTRT. Then we got an automated call on the home phone from Okanogan County Emergency Management with the evacuation notice. Later, around 6 pm, a state patrol car came around the neighborhood. By then, we had most of our things out in the car, pickup truck and cargo trailer. We wound up staying 2 nights with friends about 6 miles south of Twisp.

Looking up Twisp River Rd about 7:30 pm on our way south
Things were just as bad or worse over the hill in the Okanogan Valley, by the way. A lot of this was on the national news. Three firefighters died and another one was terribly burned last Wednesday when the fire first broke out – that is the worst part of this whole thing.
On Friday they seemed to have things under control near Twisp so we decided to head back home but leave our things packed up in the vehicles for the time being.

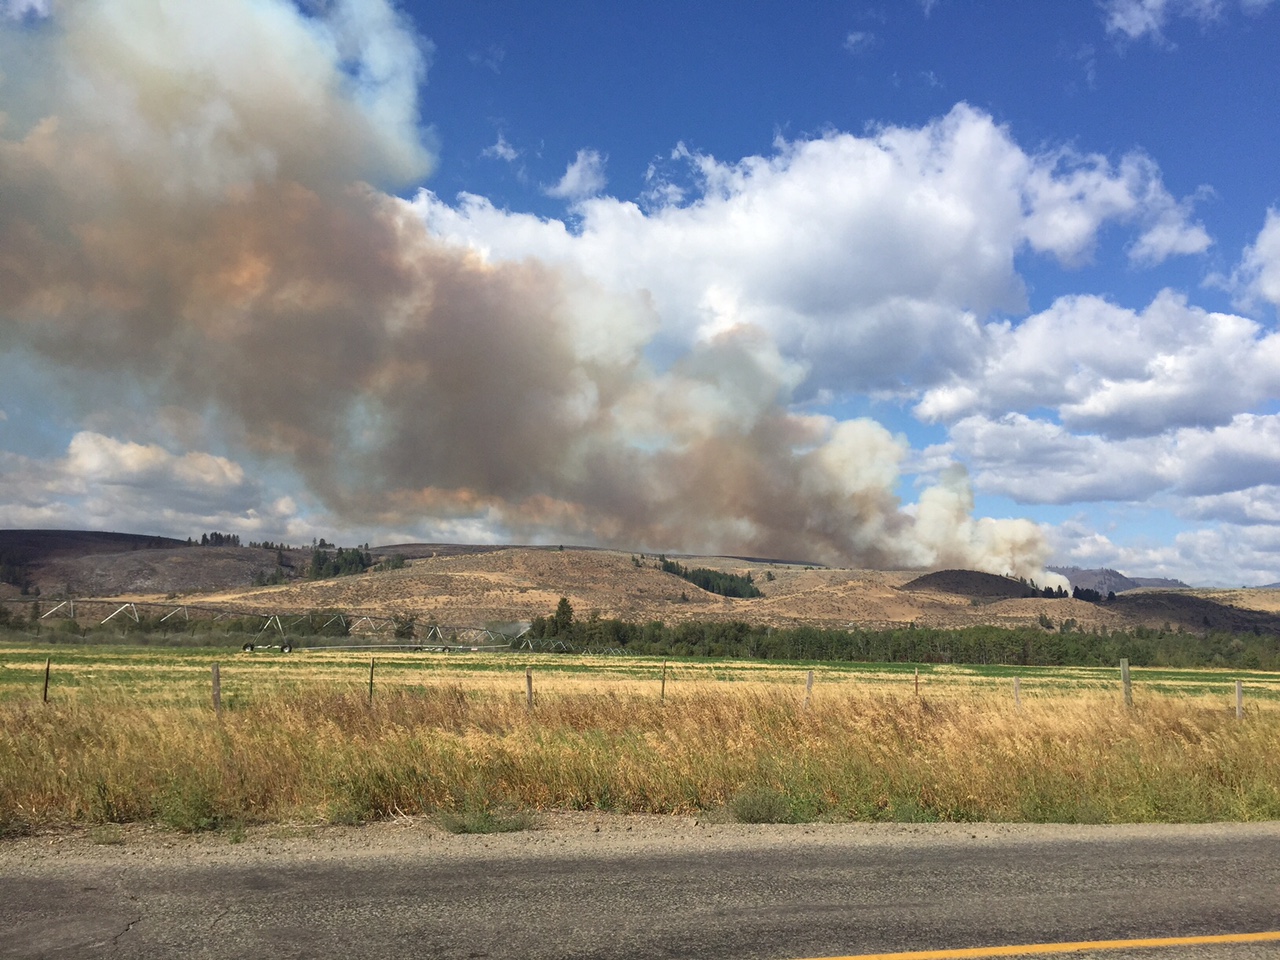
Smoke column north of Twisp on our way back into town
There was still fairly active fire in a wildlife management area north of Twisp River Road, and Friday afternoon they started up with the DC-10 fire retardant planes and water bucket helicopters. That seemed to knock it down quite a bit but they are still working on containing that end of the fire as I write.
Friday morning

Friday afternoon about 4 pm from across the valley
There was a good update on Methow Valley News Online yesterday (Sunday, August 23). The Twisp River Road fire is just part of the bigger Okanogan Complex and is being managed by a Type 1 Incident Team as part of that bigger complex.
We are mostly moved back in now and I actually got to spend some time weaving yesterday. We know we are very fortunate compared to what some other folks have been through this past week.