Feeds:
Posts
Comments

Gray & Brown

Here’s a little weaving progress report.  I will be in a 3-person “Featured Artist” show at the Winthrop Gallery – it hangs on May 27 and the opening reception is May 31.  The other 2 artists are a photographer who is planning a series of black & white images, and a woodturner.

I finished seven of the 12 towels in the doubleweave check pattern which have 8/2 Shale and Madder Brown doubleweave, and a khaki 16/2 for the plain weave.  I tried several permutations and it was really fun!  I did several as true doubleweave, i.e. same color weft as the warp in the top layer, and ditto for the bottom layer, so they come out distinctly different colors on each side.  Then I did one with all Madder Brown (solid brown on one side, brown interlacing gray on the other side), one with all Shale (solid gray on one side, gray interlacing brown on the other side).  Then one with alternating weft stripes of brown then gray (mix of solid and interlaced on each side, but with brown predominating on one side, and gray on the other).

P1030790

P1030798

Last week I put on the first warp for a series of shawls I have planned using some of my handspun yarn.  I am using Jaggerspun Zephyr 4/8 (DK weight) for the warp.  This is 50% wool and 50% silk, so lustrous and strong.

handspun alpaca & lambswool with black Zephyr 4/8

handspun alpaca & lambswool with black Zephyr 4/8

The pattern is an 8-harness 2-line manifold twill.  I chose it for the strong diagonals but there are other effects I can get by treadling the current tie-up differently, and by changing the tie-up (i.e. different effects, but all on the same threading).  I finished weaving it the night before we left for Seattle, and worked on the fringes over the long weekend.  I washed it when we got home on Monday, and today trimmed it up and got it photographed:

P1030785

P1030802

The handspun was bulky and also has the extra weight from the alpaca, so this is a heavy, warm wrap.  What I can’t show you is how it feels – so soft and cushy, it is really heavenly!


Airstream progress

I think when I last wrote about our renovation work on the Airstream, we had just started cleaning up the windows.  With spring coming on, we pulled it out of the carport and into the parking area near the house, hooked it up to electricity, and continued the work.

ready for workWe had some rain not long after we pulled it out, and this was a blessing in disguise, as we were able to locate and seal the spots where water was getting in (mainly around the VistaView skylights, the front window, and a place to the right of the door where someone had done a poor job of “repairing” the lower trim and had penetrated the wall into the main cabin).  We knew there was leakage because there was obvious water damage to the subfloor in the front of the coach, and the old front sofa infrastructure and upholstery were all stained and mildewed.

The new flooring (marmoleum, like old-fashioned linoleum) was scheduled for installation on April 25.   So we had to get the cabinetry for the front lounge and twin bunks out of there, plus the toilet, and clean before that happened.  When Rick pulled out the bunk cabinets, we discovered large quantities of rodent droppings underneath.  It was disgusting!  So glad to get all that cleaned up.  I also washed the walls down and washed all the screens.

On the window front, it turned out all the inner panes were plexiglass.  Rick managed to remove those inner panes from 5 windows that had the deteriorated UV film and we then cleaned up the outer panes (safety glass) using razor blades, solvent and lots of elbow grease.  He also removed all the screens from those windows and I gave them a good scrub down.

So here is the new flooring.  It’s a blue gray with swirls of brown colors.  The installer was grumbling about the tight quarters and difficulty, but he did an outstanding job!  We had him run it under the bunks and the front lounge, too.

new floor 1

Most of the cabinets had tambour doors which have long since disintegrated.  Tambour?  Think roll-top desk.   Rick also wants to upgrade the “look” of the cabinetry from dark walnut to cherry.  He figured out that most of the cabinets are just frameworks with pieces of plastic laminate that can be pulled out and replaced.  While he was on a wood-buying run to Specialty Forest Products south of Seattle, he picked up a 4′ x 8′ sheet of thin plastic laminate that is meant to be used on vertical surfaces.  It is a wood grain pattern and color very close to the natural finish cherry he often works in.  Then he figured out how to turn out the slats for new tambours and contact-glue them onto a lightweight canvas backing.

Here are the new platform and storage areas for the front lounge.  When I say “front lounge” this is the Airstream name for the unit that is a sofa usually, but can pull out into a double bed.

front loungeThe tambour doors cover storage areas that have brown plastic bins in them.

front lounge with binThere are four under the front lounge, 3 under each bunk, and 2 wide ones over each bunk.  He decided to do away with the tambours under one of the bunks, so we can just lift up the platform and store bigger things under there (folding chairs, tent, BBQ, etc.)  So he just put flat cherry panels in the front of that bunk platform.

back side bunk

back side bunk openBack to the windows.  There had been strips of some kind of foam weatherstripping between the inner plexiglass and outer safety glass panes, and this was all disintegrated and ugly looking from the outside of the trailer.  But it was also nearly impossible to get to, to scrape it off and clean it up.  We were trying to stuff some new weatherstripping down into the space just to try to cover it up, but that wasn’t going so well either.

weatherstrip disintegratedPlus, we hadn’t removed the inner plexiglass from the large front and rear windows, so this stuff was trapped between the 2 panes and we had no way to get to them.

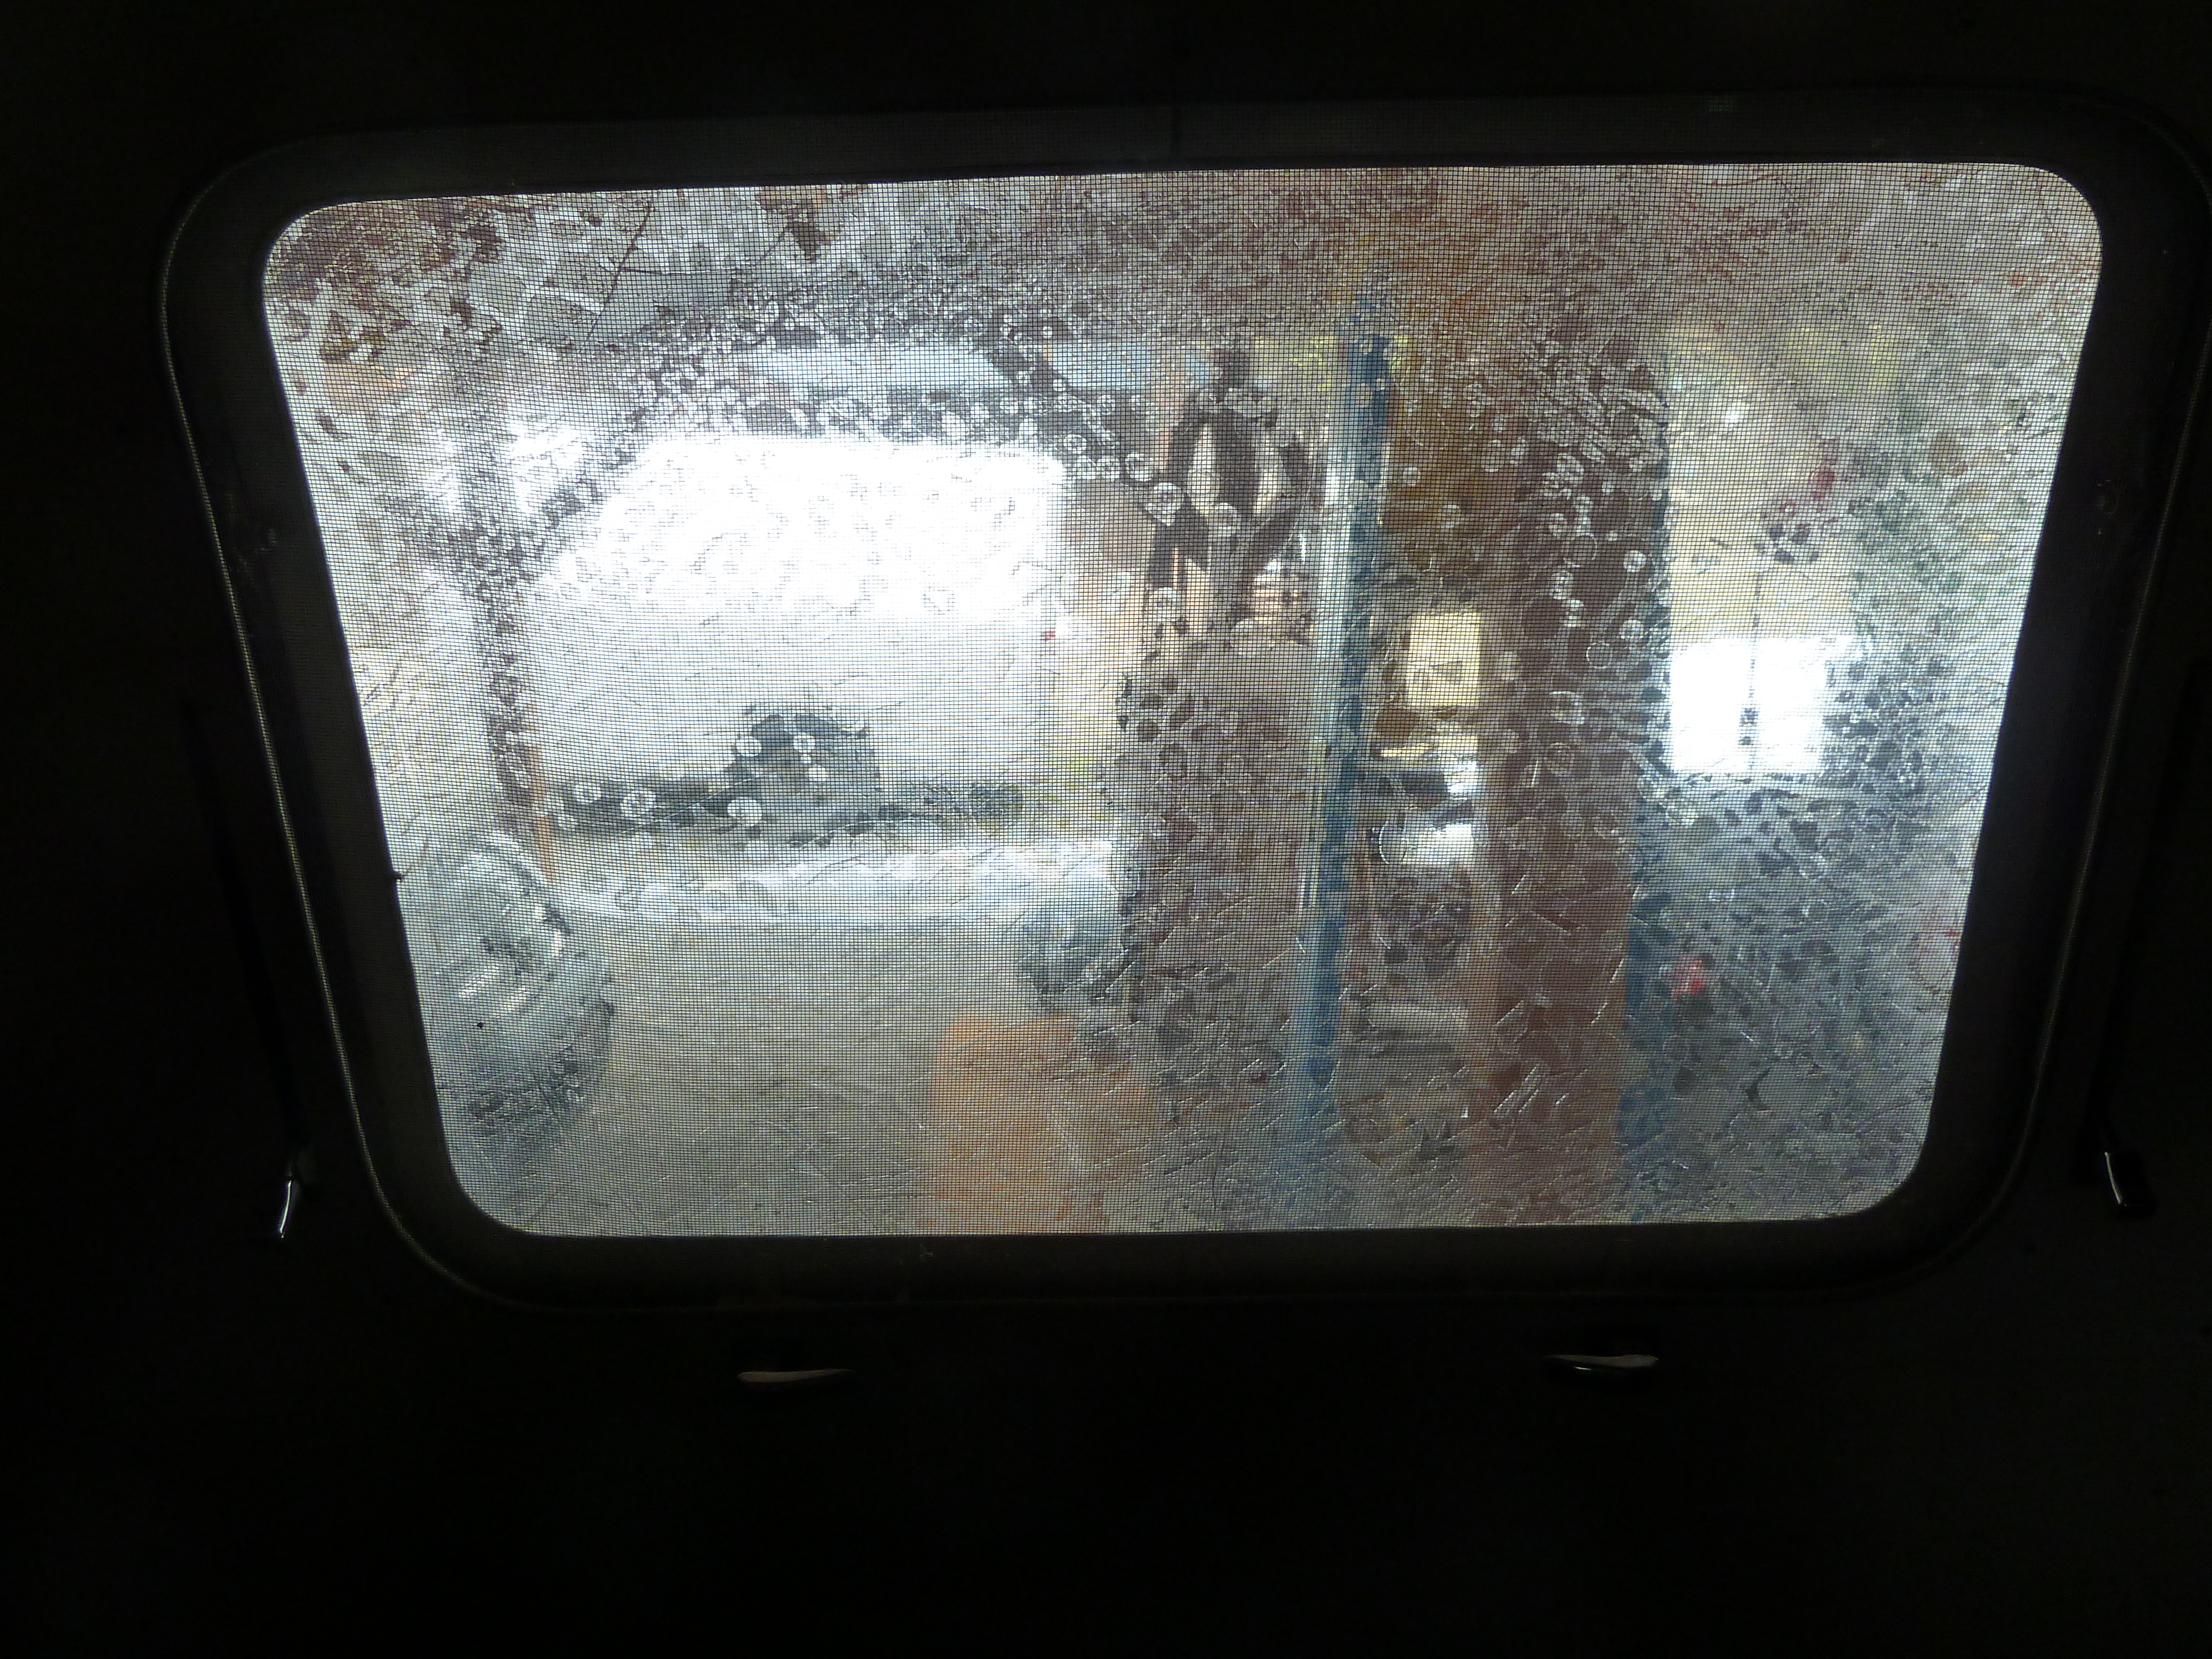
Then yesterday we had both an “AHA!” and an “OOPS!” moment.  All of a sudden we noticed the screws holding the frame of the plexiglass panel into the larger window frame.  Went to work removing it from the small window next to the door, and away it came.  So then we could get to the yucky weatherstrip residue and clean it off the outer safety glass using razor blades.

window finally all cleaned up!

window finally all cleaned up! and with screen again

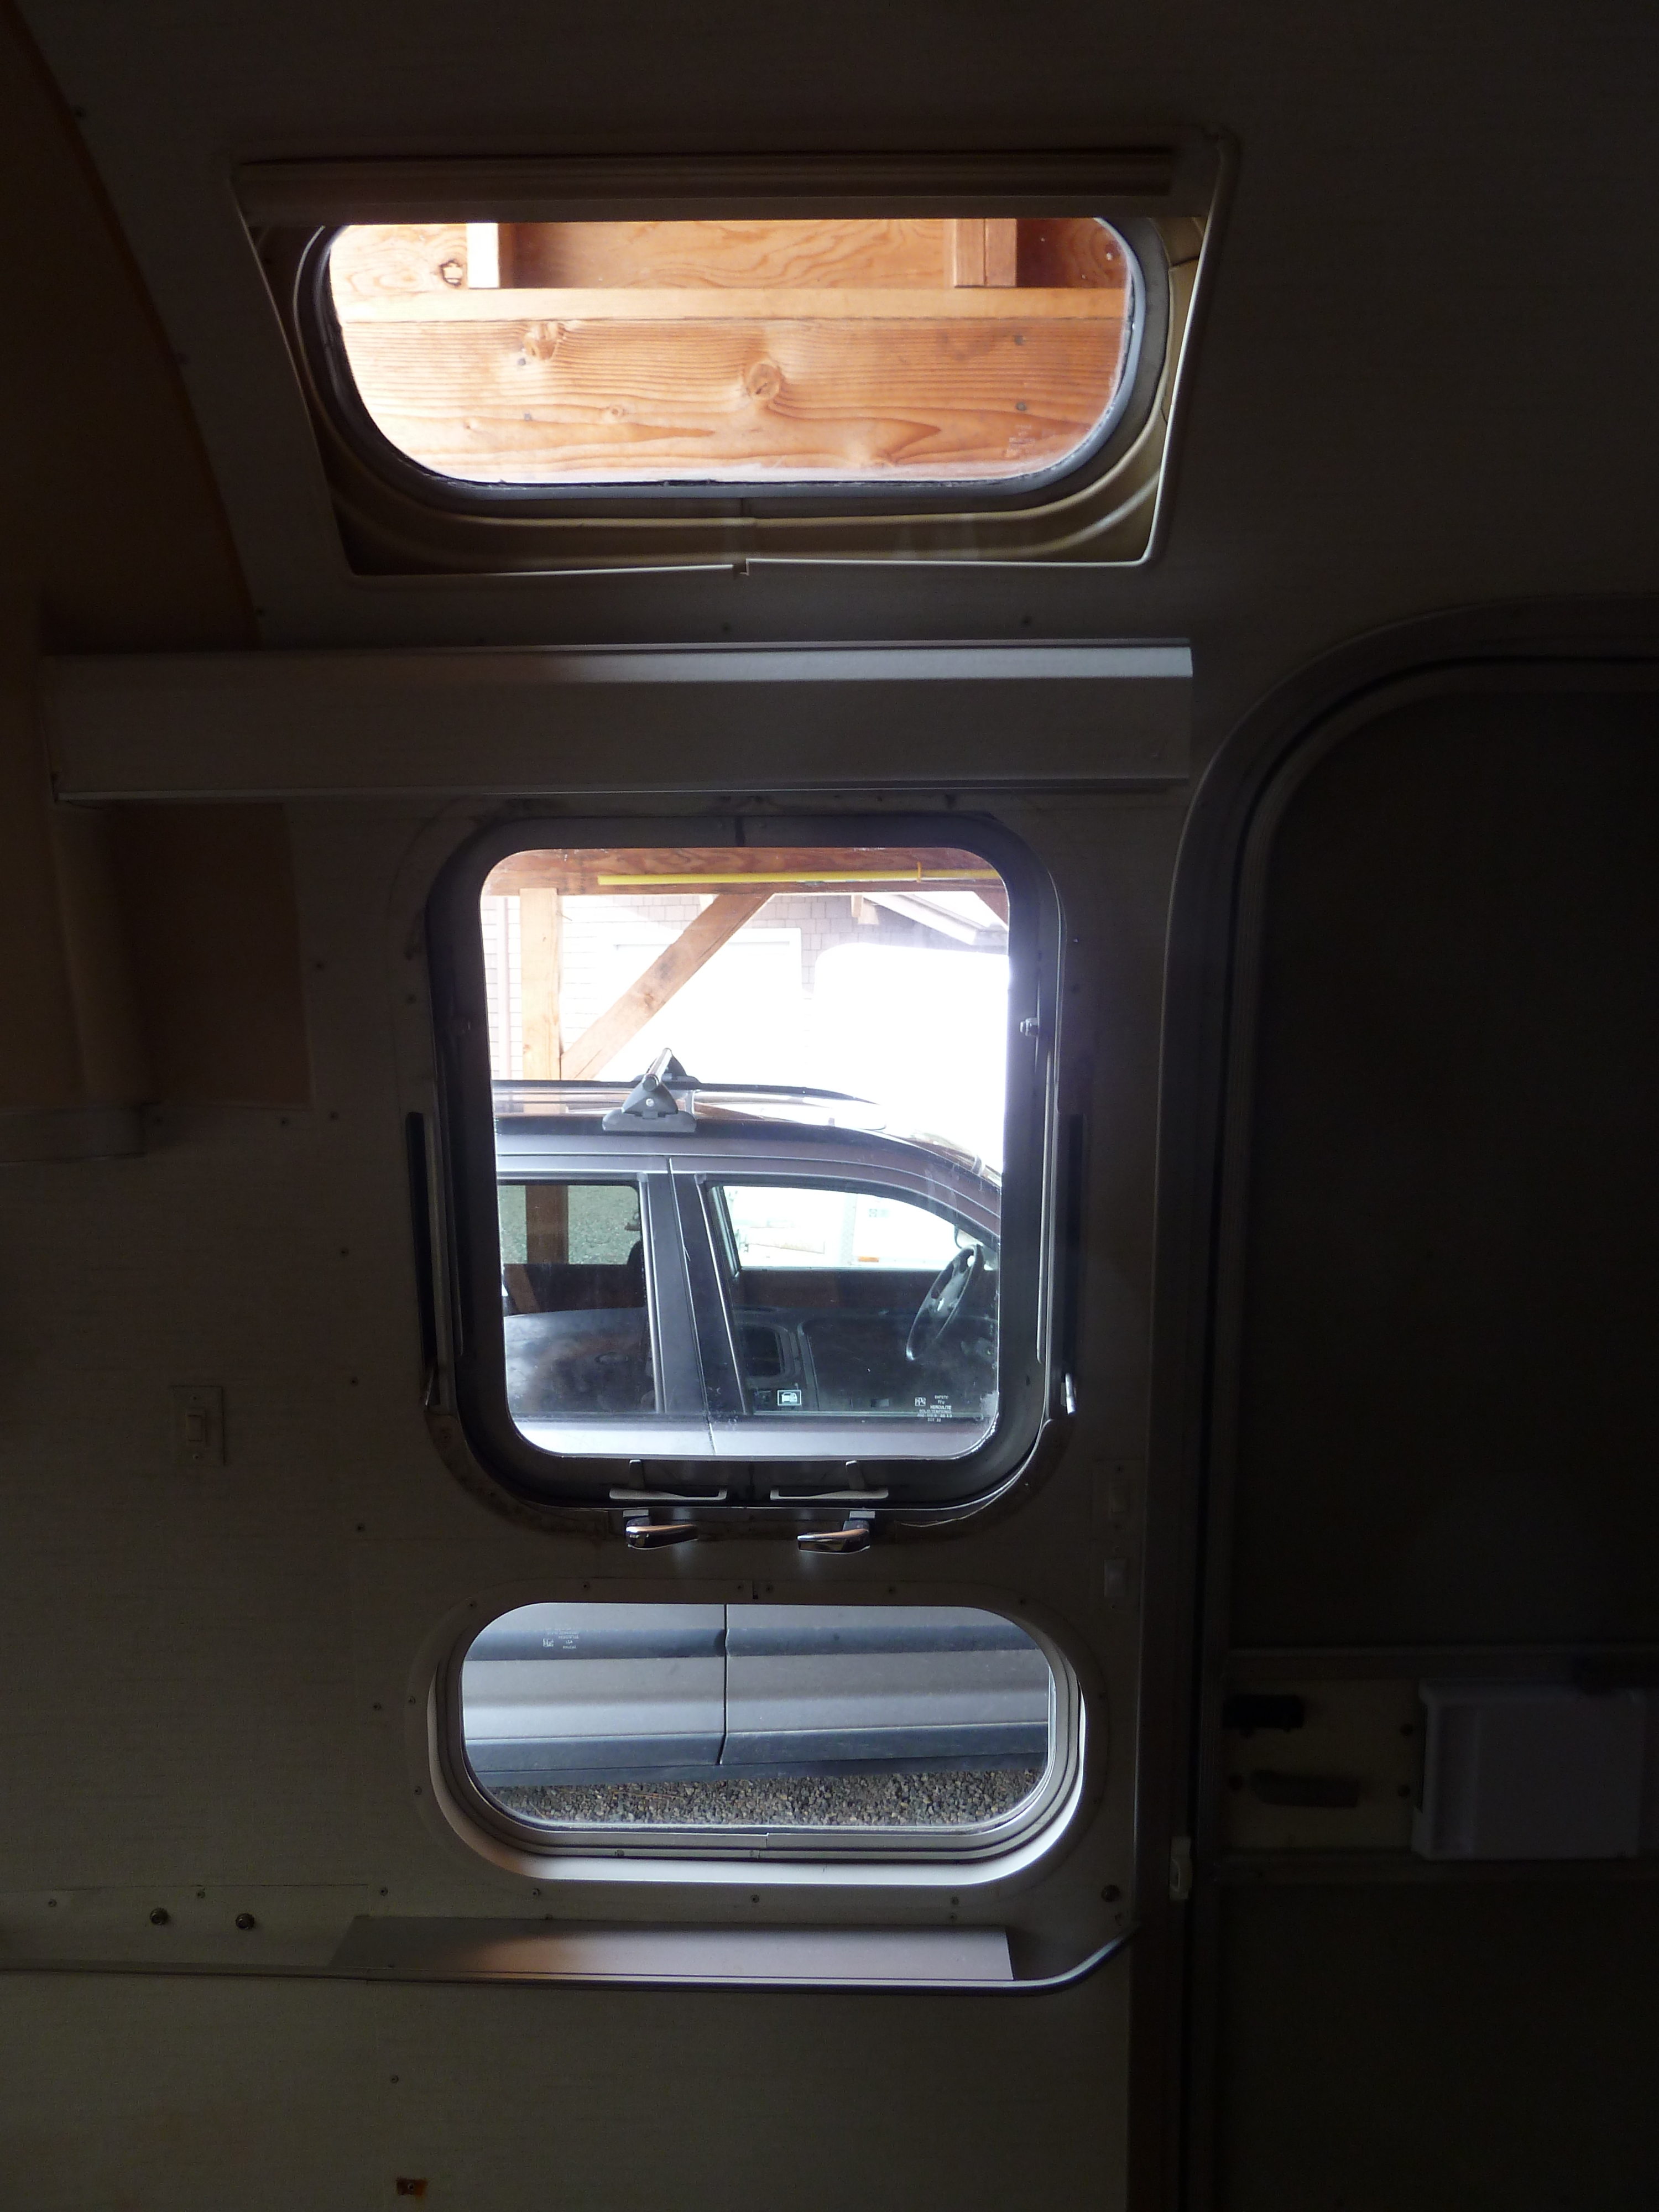
But the “OOPS” is that we didn’t have to bust out the inner plexiglass panes after all.  We could have just removed them IN THEIR FRAMES… clean up the crackled UV film on the outer pane, clean off and replaced the weatherstrip, and put the plexiglass inner panes back in.  Arrgh.  At least we can still do this on the large back window in the rear bathroom, and the large front window over the front lounge.

So at this point, it is finish the other bunk platform with tambours, pull the plexiglass frames off and finish cleaning the windows, get the new fuzzy bug seal on the screens, and re-install the toilet and do some other cleanup in the bathroom.  There was a slight hangup with the upholstery fabric (a dyelot issue not worth going into in detail, but I have to say I have received excellent customer service from Material Things in Wenatchee).  The fabric should be here by the end of this week or early next, and then the cushions can be finished.

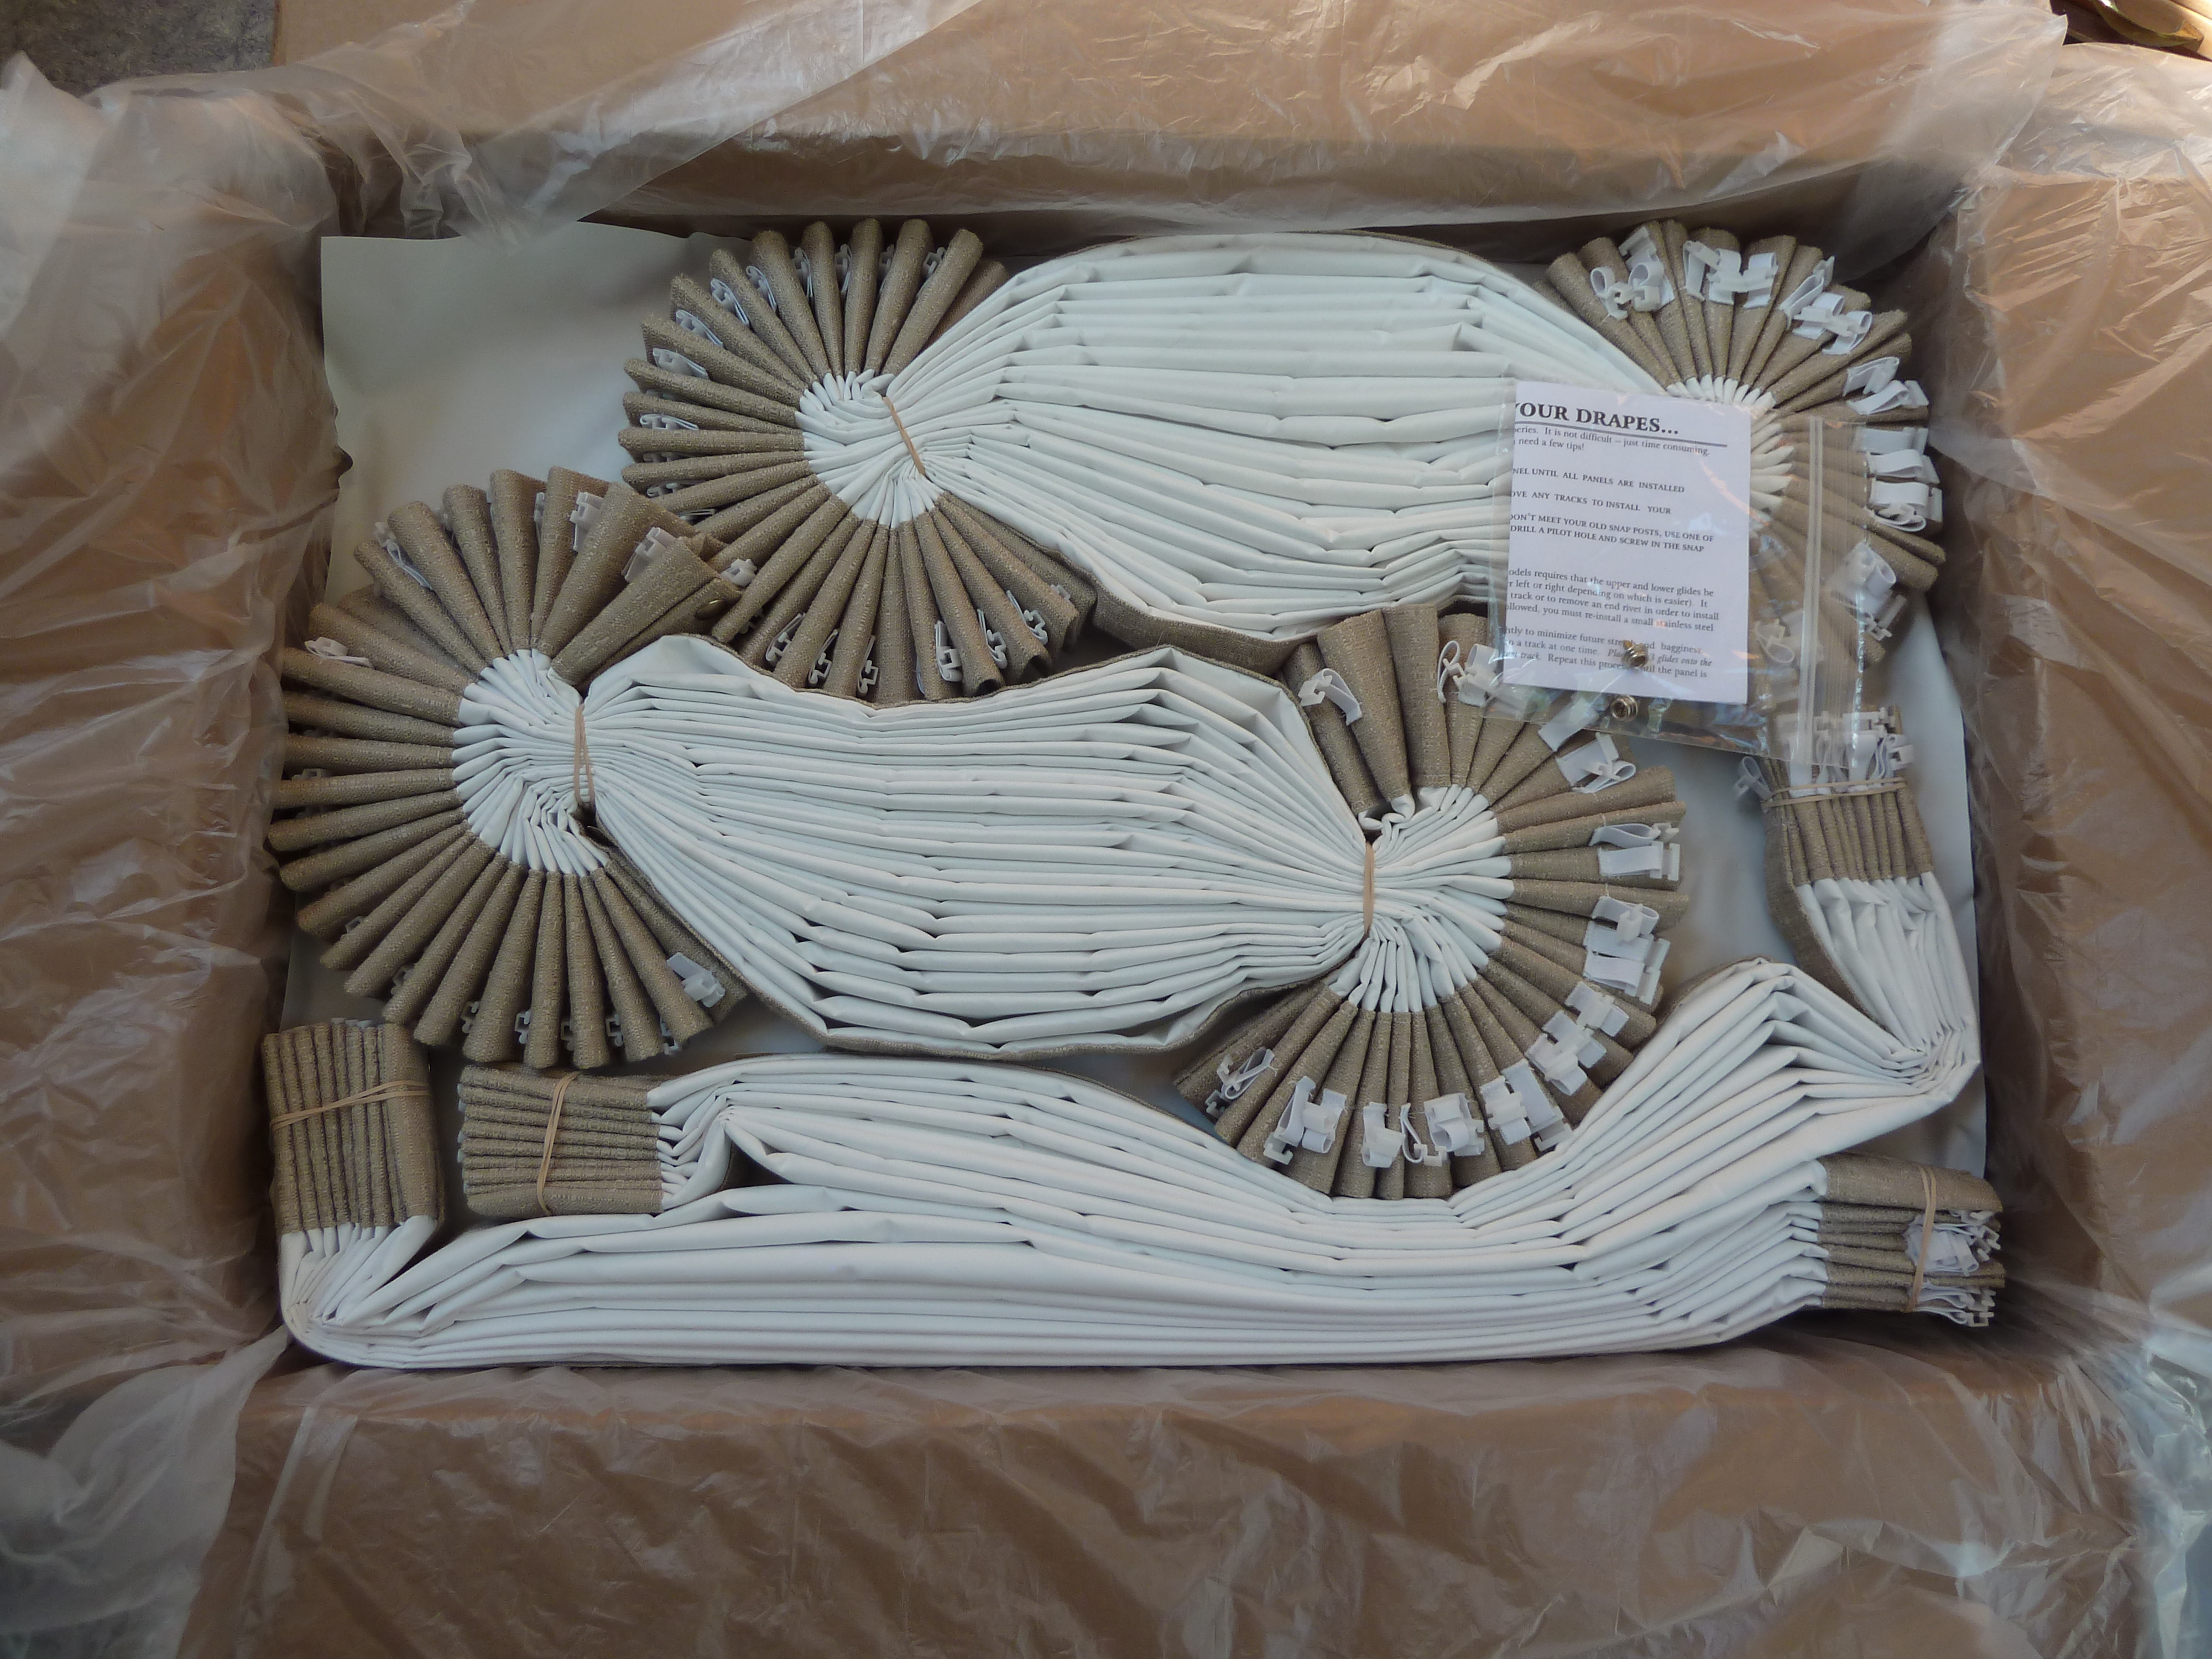
The new drapes arrived a few days ago, but we can’t install them until we finish with the windows and screens.  But look how beautifully packaged they are:

drapery package

I can hardly wait!  It will all come together before we take our first real trip to southern Oregon in mid-June.  Yes, there is still lots to do (the kitchen cabinet, for one) but that will just have to wait until later this year, or even next year.

Totally Towels

I am up to my 4th warp for the doubleweave check towels, and the current one will be the last for now.  Each one has come out quite differently, and it hasn’t been boring!  I just need to move on to a new project on Kingston.

So, to recap, the weave structure is a mixture of plain weave and doubleweave, the latter creating little thick checks throughout the fabric.  The warp alternates 16/2 cotton for the plain weave stripes, and 8/2 cotton for the doubleweave stripes.  When I am weaving plain weave, the weft is 16/2.  When I am weaving doubleweave, the weft is 8/2 and it weaves as plain weave in the 16/2 warp stripes.  Clear as mud?  You have to be a weaver…..

The first set used a natural 8/2 cotton and a periwinkle 16/2 cotton for the warp.  I played around with changing the colors of the 16/2 cotton for the weft, but only used the natural 8/2 for doubleweave weft.  These are all 6 towels from this warp:

Set 1 - doubleweave check towels

Set 1 – doubleweave check towels

The second set used a light gray marled 8/2 cotton and and black/green marled 16/2 cotton for the warp.  Again I used the same 8/2 cotton throughout for weft, but played around with different colors of 16/2 cotton for the wefts.  I put on 9 yards this time, and got 9 towels (some colors were duplicated, so the picture shows the 5 variations).

Set 2 - doubleweave check towels

Set 2 – doubleweave check towels

closeup of towel with red 16/2 weft

closeup of towel with red 16/2 weft

For the third set, I decided to try stripes of four different colors of 8/2 for the warp, with a single color of 16/2, which was a nice gray/blue/green variegated cotton that served as a basis for the other color choices.

Seahawks cones

It wasn’t until I started winding and beaming a 12-yard warp that I realized these are kind of “Seattle Seahawks” colors!

Seahawks warp all beamed on

Seahawks warp all beamed on

This time I played around with changing the colors in the weft for both yarns, the 4 colors of the 8/2 cotton and some other colors of 16/2 that seemed to work with the overall color scheme.

green 16/2 with gray 8/2

green 16/2 with gray 8/2

I finished up 12 of these last week, and only a few were duplicates.  Here are four of the variations:

Four of the color variations

Four of the color variations

Because all of the above towels had single colors of 8/2 cotton in the doubleweave areas of the warp, they look the same on both sides.  That is, both the top and bottom layers of the doubleweave checks are the same when woven.

Yesterday I finished putting on the 4th warp.  This time I alternated 2 colors in the doubleweave areas of the warp so I can weave towels that look different on each side.  Those colors are “Madder Brown” and “Shale” 8/2 from WEBS.  The 16/2 is a khaki color.  I wove the first towel last night, using Madder Brown when weaving the top layer, and Shale when weaving the bottom layer.  I also need a third shuttle for the 16/2 cotton, so it is a little slow going managing 3 shuttles, and figuring out how to run the yarns up the selvage neatly.

But as you can see, it is working.   Doubleweave is truly magical!

Two-color doubleweave underway

Two-color doubleweave underway


Visit to Vancouver B.C.

We traveled over the mountains and up to British Columbia last weekend, to visit friends who come frequently to our little valley.  I didn’t take many pictures, but we had lovely weather and did a lot of walking (and eating…)

One of the highlights of the trip was going to Granville Island on Sunday morning for breakfast, and to wander about and see the shops and studios there.  To get back to downtown Vancouver, we took the Aquabus, which offers a lovely and different perspective on the city:

Vanc BC Aquabus 1

Vanc BC Aquabus 2

We hadn’t visited Vancouver in about 15 years, and how the skyline has changed!  There are numerous apartment/condominium buildings downtown, and we were amazed by how many restaurants there were.  I guess a lot of the people who live downtown eat out all the time.

My favorite find at Granville Island was the Silk Weaving Studio.  There are 7 weavers and it is a working studio, with looms and fiber everywhere (all silk), and many beautiful items for sale.

Vanc BC Silk Studio 1

Vanc BC Silk Studio 2

Vanc BC Silk Studio 3

Vanc BC Silk Studio 5

Vanc BC Silk Studio 6

Vanc BC Silk Studio 7

We also enjoyed Coastal Peoples Fine Art Gallery, which has 2 shops, one in Gastown and one in Yaletown.  Inuit Gallery of Vancouver also had some beautiful things, but Coastal Peoples was our favorite.

Progress on 3 Fronts

Knitting

Nymphalidea shawl by Melinda VerMeer (first published in Knitty Fall 2013, but also a free pattern on Ravelry).  I used about 2/3 of a ball of Noro Silk Garden Sock – she recommends a sock/fingering weight yarn with long slow color changes for the colored yarn – plus a slightly heathered blue/purplish sock yarn I had hanging around, for the welts.  I did more repeats of the pattern (32 instead of 28 I think) to follow the color progression to where I wanted it at the end.

Nymphalidea pinned out with blocking wires

Nymphalidea pinned out with blocking wires

detail:  short row lace sections at outer edge

detail: short row lace sections at outer edge

Nymphalidea 4

Weaving

I put a second warp on Kingston for more of the doubleweave check towels.  The first batch is washed and ready to hem and finish, but not ready for photography yet.  They did turn out nice and soft and cushy, though.

For this time around, I used a silver marl (soft gray and white) in the 8/2 cotton doubleweave areas, and a black/olive green marl in the 16/2 cotton for the plain weave areas.  I am quite happy with how these are turning out!

dblwv check #2a

dblwv check #2b

Airstream Upgrades

Back in 1973 when our trailer was built, they put in double-pane windows.  From reading the Airstream Forums and other sources on the internet, we find it is a well-known problem to have the seals on these break down.  There is a UV film between the panes of glass that crackles and shrivels up, basically.  So most of the windows on the sides of the trailer look pretty bad – the ones in front and back are still mostly OK.

window over the galley

window over the galley

galley and bedroom windows from outside

galley and bedroom windows from outside

There is debate (on the internet, can you imagine?) about how to best deal with this problem.  Some people advocate removing the entire window, carefully taking them apart, cleaning it up, re-sealing and putting them back in.  Well, for one thing they are riveted in.  Even if you manage to get the window out, I then found via a YouTube video that “taking them apart” is a process fraught with peril of breakage, and using lots of solvents etc.  And then the folks at Airstream of Spokane said there is a good chance they will just have the same problem again (breakdown of seals) because double-pane windows were just not a good idea for a trailer that will be jiggling and bouncing down the road.

Replacement windows cost a fortune (to buy and to have installed) and are probably Plexiglass these days.  So, they convinced us that we should just break out the inner pane of glass (using a punch to get started), clean up the film and outer glass pane, and go with single-pane windows from here on out.

Rick made a start yesterday with the windows beside the door.  First thing he ran into is that these particular windows have Plexiglass on the inside, we assume for safety reasons given their location.  He did manage to get them out though, using a special cutter/saw thing he has to get started.  They cleaned up beautifully, with some razor blade scraping etc.  The upper window is one of the “Vista Views” (kind of a skylight with a shade that pulls over it when you don’t want that much light) and these are the curved ones – it was actual glass on the inside and he broke it out with the punch.

3 cleaned windows next to the door

3 cleaned windows next to the door

cleaned windows from outside, looking towards the next victim

cleaned windows from outside, looking towards the next victim

We still need to refine our cleaning technique and find some gasket material to fill in the channels on the inside.  But overall, this is encouraging and we feel we can do this ourselves.  Since the screens are removed to do this,  I will also clean those up and replace the “fuzzy bug seal” where the arms to open the windows go through the screen frames.

Onward!

Travels & Spring Projects

A couple of weeks back we took a trip out to Port Townsend and then on to Lake Quinault in the Olympic Rainforest, to visit our friends who own a historic cabin resort on the North Shore Rd – Lochaerie Resort.  Rick had built a corner cabinet for the living room of their personal residence, so we drove the truck and brought that out for installation.

In Port Townsend, we ate twice (dinner on arrival, lunch the next day) at our favorite little restaurant, Hanazono Asian Noodle.  It is really good, plus we are Asian-food deprived over here in our neck of the woods.

the Taylor Street roll

the Taylor Street roll

udon soup bowl with many yummy Things in it

udon soup bowl with many yummy Things in it

Before heading out to the lake, we drove down to Quilcene to visit Taylored Fibers.  This is a small custom carding operation which I first visited last October.  I brought Barry Taylor a washed Corriedale fleece and an alpaca fleece and he is going to dye the wool in 2 different colors, then blend it with some of the alpaca to make me some spinning rovings.  I can hardly wait!

His “machine” was made by Pat Green in British Columbia and is probably at least 20 years old.  As you can see, it is not the home edition.  It can make either batts or rovings.

P1030618

P1030620

At Lochaerie, we had lots of down time with the new kittens, Walter and Skyler (both are females, but Walt was mis-identified initially, and they decided to keep the name!)

P1030633

the new corner cabinet - TV will mount in the wall above

the new corner cabinet – TV will mount in the wall above

We actually had reasonably dry weather for the coast, even though it was a little cold and windy.  On Sunday we went out and walked on the beach at Kalaloch.  It was blowing sleet down the beach at times, which may be one reason I wasn’t too into photography – but there were also sun breaks and it was beautiful.  We also got in a couple of nice walks in the rain forest, so different from our dry side of the mountains.

Back at home, I finished the 10 scarves on the Mardi Gras warp and took that setup off Kingston, the 32″ Macomber loom.

washed and ready for final pressing and trimming

washed and ready for final pressing and trimming

Then moved on to the new project, which I have to complete for our guild challenge deadline in mid-April.  The theme this year is “doubleweave”.  I chose a draft called Doubleweave Checks that has squares of double weave in a heavier cotton (8/2 in this case), separated by stripes of plain weave in both directions, using a lighter cotton (16/2 in this case).  The actual doubleweave checks should puff up when I wash these, making a nice thick absorbent towel.

doubleweave checks towel on the loom

doubleweave checks towel on the loom

close-up view

close-up view

This is way fun and I will be making more, to explore other colors, and other weights of cotton too.

Also this week we turned our attention to the Airstream trailer, now that it is warming up outside and we are comfortable working out there.  We took some “before” pictures.  It is so 1973 in patterns and colors and all the soft furnishings are also worn out and dirty.

the front lounge which makes into a double bed

the front lounge which makes into a double bed

twin beds in the center section

twin beds in the center section

lovely orange formica and dark walnut cabinets

lovely orange formica and dark walnut cabinets

refrigerator and storage across from the galley

refrigerator and storage across from the galley

Rick tore out the yucky dirty orange carpet and we picked out a Marmoleum (linoleum-type) flooring which should go in sometime in April.  I ordered new draperies from a place in Pennsylvania that specializes in replacement Airstream draperies:  J.P.A. Drapes.  Should get those by end of April or early May.  Then on Tuesday I took all the cushions from the front lounge and the twin beds to an upholstery shop in Wenatchee for re-covering.  I found some upholstery fabric we both really like at a decorator store  in old town Wenatchee:  Material Things.  They didn’t have anything at the upholstery shop that I liked, so I was really surprised and grateful that there was an alternative source!

And Rick has plans for the cabinetry – he is figuring out how it all goes together and what he can replace with new lightweight material in cherry.  It has to be lightweight so this is different than regular cabinetry.  All of that won’t happen right away, but at least the soft furnishings and the floor will be updated and clean by the time we take our first road trip in June.


The Mardi Gras Warp

I put a new warp on for more scarves this week.  It is black with jewel tones, lots of sparkle and color.  This being March, I decided to call it “Mardi Gras”.  I have 4 groups of 16 threads across the warp (rearranging colors so it doesn’t get too stripey).  In each group of 16, for this warp, 25% or 4 threads are Classic Elite “Applause” that I bought from a friend’s stash reduction.  9 skeins of what must have been an expensive handknitting yarn for a whopping $7.00 (total, not each!).  It is a double strand – one black mohair and the other strand a rayon/wool/silk slub that is jewel toned and changes color along the length of the yarn.  The other yarns I chose to pick up the colors in that one yarn.

the Mardi Gras warp yarns

the Mardi Gras warp yarns

on the sectional beam and ready to go

on the sectional beam and ready to go

first scarf being woven with black alpaca

first scarf being woven with black alpaca

I am up to scarf #7 of 10 by today, each a different color weft.  It is so intriguing to see how different the warp colors play against each weft color.  Pictures sometime next week, maybe….

Meanwhile we are off to the real rain forest on the Olympic Peninsula for several days.

I finished up 10 woven scarves from the Rain Forest warp last week, and had them washed, pressed and photographed by yesterday.  Here was the warp:

Rain Forest warp on the loom

Rain Forest warp on the loom

I wove them with a variety of yarns:  alpaca, baby llama, organic wool and rayon chenille.  They all came out nice and soft and drapy after washing; the alpaca and baby llama shrank the least in width, not too surprisingly.  They all shrank about the same in length off the loom and washed:  70″ as woven under tension, about 64-65″ after finishing (exclusive of fringe).

L to R: black alpaca, dark olive baby llama, very dark brown organic DK wool

L to R: black alpaca, dark olive baby llama, very dark brown organic DK wool

L to R: dark slate blue organic wool, brown wool boucle, orange rayon chenille

L to R: dark slate blue organic wool, brown wool boucle, orange rayon chenille

3 colors of rayon chenille

3 colors of rayon chenille

There was another one in the dark slate blue wool which I may keep for myself.

On the knitting front, I finished the corkscrew tassles on the other scarf (body of scarf was knit quite a while back):

fluted fabric scarf with corkscrew tassles

fluted fabric scarf with corkscrew tassles

Tazzles 2c

I’ve been doing some studio re-organizing and ran across a pattern I had purchased online, and some Noro Kureyon Sock yarn I had set aside for the project.  I am not sure why I had that sock yarn, as I am SO NOT a sock knitter!  Maybe it was intended for a woven and fulled (slightly felted) project.  Who knows.  Anyway it has now become this:  Noro Knots by Kieran Foley.

Noro Knots 1

Noro Knots 2

I started it with the size 8 needle he used, but felt it was a little too loosely knit, so started over with a size 7 (4.5 mm).  I wound up doing 6 repeats of the charts instead of the 5 repeats he did, and I think it came out about the same length.  I used all of 1 skein and about 1/3 of the second one, so I could have made it one set of chart reps longer.  Kureyon is a somewhat rough yarn (in my opinion) and the sock version is 70% wool and 30% nylon.  Still, when washed, it did soften up nicely.  I didn’t block it with wires or pins, just spread it out on the guest bed once soaked, rinsed and spun out to remove excess water.  Very fun to do and I did change around the colors as he suggested, to avoid getting regular repeats of the color sequence.  I think it is more interesting that way.

I am also not much of a baby-item knitter, but a couple of weeks ago I knit this up for someone special who is having her first child (a boy).  I used some leftover Queensland Merino Spray in 2 colors; the pattern is from a Debbie Bliss baby knits book.

Callie's baby sweater

Fiberarts frenzy

I have been working on some scarf ideas that may make it as far as the pattern stage.  If not, at least it has been fun to “unvent” some things, and to bring along at least one project that has been languishing for quite a while!

First up is a 3-texture shaped scarf using a lightweight wool, a light mohair with glitter, and a lightweight kid mohair boucle.  I also shaped the tails, as I dislike fringe and wanted something more graceful than just a blunt end.  Working title:  Sedimentary Scarf (because this one reminded me of sedimentary rock layers).

3 differently textured yarns, and the swatch

3 differently textured yarns, and the swatch

Trial 1 of Sedimentary Scarf

Trial 1 of Sedimentary Scarf

The long tails came out WAY too long, so I have artfully pinned them up behind the drapey cowl part for the picture.  Next one will hopefully be “just right”.  I do love the colors in this one, though.

Next is a project I started a couple years? back.  It is a slip stitch pattern scarf (but not linen stitch) with attached corkscrew edging.  The first time I tried the edging, which came from Nicki Epstein’s excellent “Knitting on the Edge” book, they were knit individually and then sewn on.  Not fun mainly because of there being way too many ends to darn in when done.  I came up with a modification that lets me knit them as I go across each end of the scarf (this is after the body of the scarf is finished).  I had two scarves knitted in quite different colorways, but had never finished the edgings.  Well, the first one is done now, and I am working on the second.  Working title:  Corkscrewy.

Corks 1b

Corks 1d

Corks  1 fringe b

If I put these up on Ravelry, there will be a Big Announcement here on the blog!

I also finished a version of Hitchhiker by Martina Behm.   This is written for sock weight yarn, but I had been given a “challenge” skein of Mountain Colors  Weaver’s Wool Quarters last fall (350 yds in 100 gm, DK weight).  Actually a small group of us were each given 1 skein of this yarn with the challenge being to bring back something made out of it next October.  So I just knit away on a size 7 needle until I ran out!  It is definitely big enough to wear as a neck scarf, so I am pleased.

Hitchhiker in Mtn Colors 1

Hitchhiker in Mtn Colors 2

I have also been spinning up some of the rovings I bought at Taylored Fibers in Quilcene WA, on the Olympic Peninsula, last fall.

1/3 each merino, alpaca and BFL (Blue-faced Leicester)

13 oz. – equal parts merino, alpaca and BFL (Blue-faced Leicester)

50% merino, 30% bamboo and 20$ silk

16 oz. – 50% merino, 30% bamboo and 20% silk

first skein of 18 oz merino/alpaca/BFL with some silk noil

first skein of 18 oz merino/alpaca/BFL with some silk noil

I am building up a stash of roughly worsted weight handspun yarn to use as pattern weft in some shawls I want to do for my show at the Winthrop Gallery that opens at the end of May.

Which brings us to weaving!  After two months away from the looms, I am happy to say I put a new mixed warp for scarves onto Kingston this week, and am starting to weave again.  This colorway reminds me of the colors and textures you see in the rainforests on the Olympic Peninsula of Washington State.

Rain Forest warp on the loom

Rain Forest warp on the loom

First Rain Forest scarf underway

first Rain Forest scarf underway

Deep in the Heart of Taxes

I have been using my period of convalescence from back surgery to work my way through our business records from 2013 and enter everything into Quickbooks.  Next week we will turn it over to the accountant and actually be done with that yearly chore.  Every year we swear to keep up with it on at least a quarterly basis.  Ha, ha.  Well, maybe this year.  I am on a roll.

Meanwhile, we actually got some SNOW here – the last couple of days, in particular.  This is by far and away the most snow we have seen on the ground around our house this winter.

12 Feb 2014 snow

12 Feb 2014 snow

Sadly, it is supposed to warm up to the upper 30’s and rain for the next couple of days.  Blech.  But maybe higher up the valley and in the hills the snow will persist – the ski trails sure need it!

I have finished some new scarves and will post pictures soon….